Making Claims
You'll see how to navigate the store claims screens.
Prerequisites
Before starting this tutorial, ensure you have:
- Logged into the application with the necessary permissions to create and finalise claims.
- Understanding of the difference between claims and returns: claims adjust financial records, while returns are handled separately — see the making stock returns tutorial for details.
Searching Claims
This section of the tutorial describes how to search for claims.
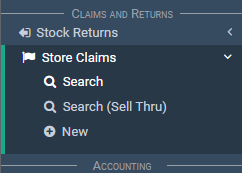
In the main menu, go to the Claims And Returns section.
Select 'Store Claims' > 'Search'.
Note
If you only want to see Sell Thrus, go to 'Store Claims' > 'Search (Sell Thru)' in the main menu.
There you'll find the same screen as above.
The only difference is it only shows sell-throughs.
The search screen lists all your claims.
You can search for specific claims by using the search filters at the top.

Creating Claims
This section of the tutorial describes how to create claims.
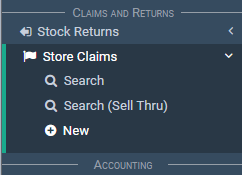
If you want to create a claim go to the Claims And Returns section.
Select 'Store Claims' > 'New'.
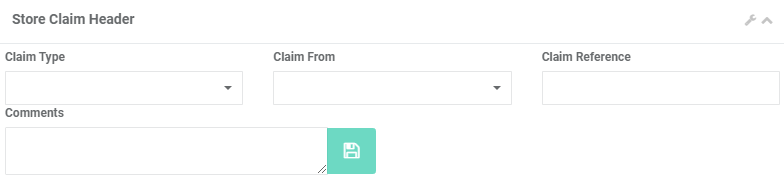
Notice the 'Store Claim Header' section.
These are the input boxes:
- Claim Type
- Claim From
- Claim Reference
- Comments
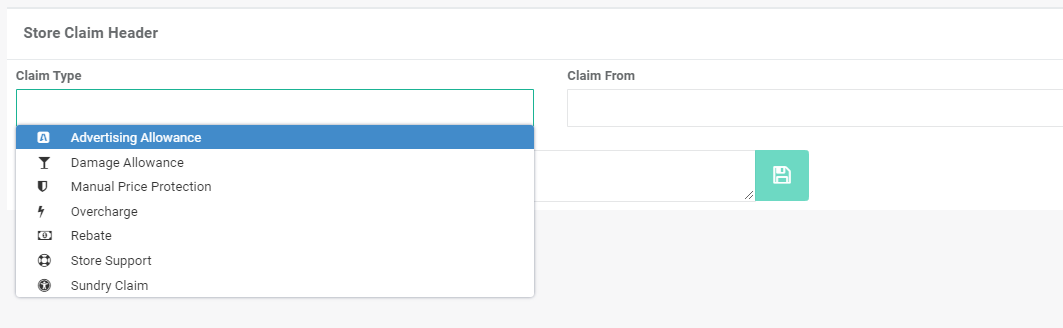
Select a 'Claim Type'.
Select the 'Claim From' entity.
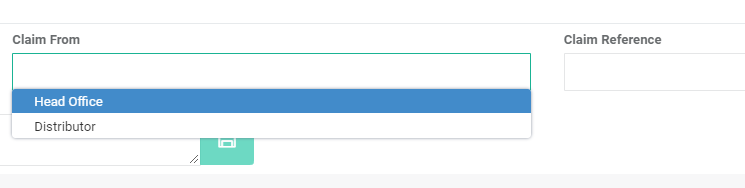
Not all claims can be made against Head Office.
Below is a list of possible outcomes.
| Type | Claim From Head Office | Claim From Dist |
|---|---|---|
Advertising Allowance |
||
Sundry Claim |
||
Damage Allowance |
||
Rebate |
||
Store Support |
||
Manual Price Protection |
||
Overcharge |
Lastly, enter the:
- Claim reference.
- Comments (if needed).
You'll notice that a new section pops up underneath called 'Claim Details'.
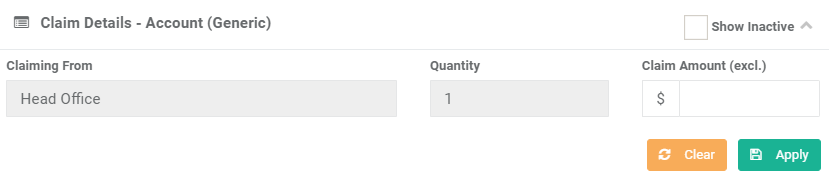
From now on, the steps for each claim type vary.
We'll cover each claim type seperately.
Advertising Allowance
Now select the appropriate claim type in the dropdown.
To continue and finish making an advertising allowance claim you need to do the following:
Select 'Advertising Allowance' in the claim type dropdown.
Select one of the two 'Claim From' options in the dropdown, either:
- Head Office
- Distributor
If you selected head office:
- Enter the claim amount (excl).
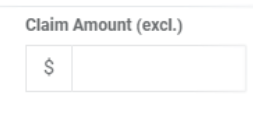
- Select the 'Apply' button.
Otherwise, if you selected distributor:
- In the 'Claiming From' input box, search for and select a distributor.
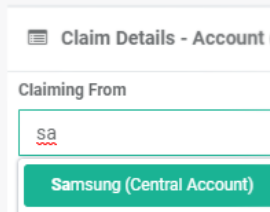
- Enter the claim amount (excl).
To complete the claim, follow the steps here (Finalising A Claim).
Related Claims
- Sundry Claims: Have the same steps as advertising allowance claims.
- Rebates: Claimed from head office only. They have the same steps as advertising allowance claims.
Damage Allowance
Now select the appropriate claim type in the dropdown.
To continue and finish making a damage allowance claim you need to do the following:
Select 'Damage Allowance' in the claim type dropdown.
Select one of the two 'Claim From' options in the dropdown, either:
- Head Office
- Distributor
The steps for creating the claim are the same for both head office and distributor:
-
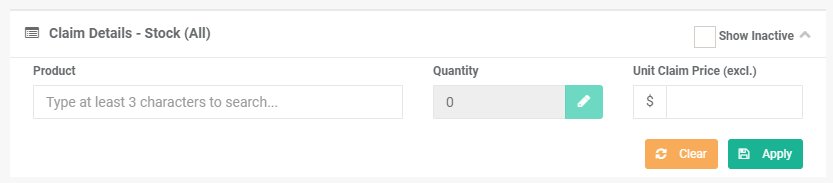
In the 'Product' input box, search for and select a product.
-
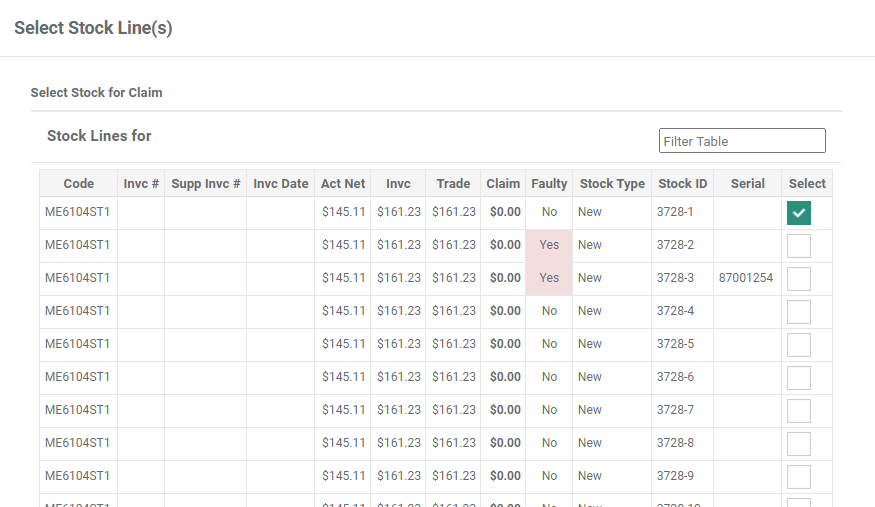
A pop-up will appear.
-
Select the stock item to claim on.
-
Select the 'OK' button on the pop-up.
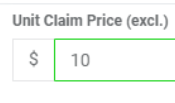
- Enter the 'Unit Claim Price (excl.)' dollar value.
To complete the claim, follow the steps here (Finalising A Claim).
Store Support
Now select the appropriate claim type in the dropdown.
To continue and finish making a store support claim you need to do the following:
- Select 'Store Support' in the claim type dropdown.
- Head Office is the only 'Claim From' option in the dropdown.
- Add the Claim Amount (excl).
To complete the claim, follow the steps here (Finalising A Claim).
Manual Price Protection
Now select the appropriate claim type in the dropdown.
To continue and finish making a manual price protection claim you need to do the following:
- Select 'Manual Price Protection' in the claim type dropdown.
- Distributor is the only 'Claim From' option in the dropdown.
-
In the 'Product' input box, search for and select a product.
-
A pop-up will appear.
- Select the stock item to claim on.
-
Select the 'OK' button.
-
Add the Unit Claim Price (excl).
To complete the claim, follow the steps here (Finalising A Claim).
Overcharges
Now select the appropriate claim type in the dropdown.
To continue and finish making a overcharge claim you need to do the following:
- Select 'Overcharge' in the claim type dropdown.
- Distributor is the only 'Claim From' option in the dropdown.
-
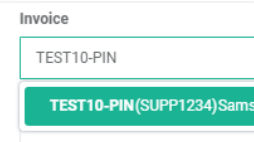
Search for the invoice that's overcharged.
-
Next, in the 'Claim Details - Invoice' section, select the invoice line to claim on.

-
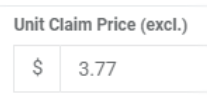
After selecting the line, the 'Unit Claim Price (excl.)' value will be filled for you.
To complete the claim, follow the steps here (Finalising A Claim).
Finalising A Claim
This section of the guide describes how to finalise a claim.
This is the final step of the Creating Claims section.
- Select the 'Apply' button on the claim line.
- Select the 'Complete' button.
- Next you'll see an option to print or email the claim.
- Notice the claim status is now 'Completed'.
